Devlog Week 10


Liam - Programming
The first thing that needed implementing was the positioning of the blunderbuss within the players point of view. This needed to be both configurable and consistent regardless of the players screen resolution, since we intent to display UI on it and need it to always be visible.
To do this, a ray is cast from the point on the screen we want the gun shown relative to the total screen size, i.e. 10% of screen width from the right-hand-side, 10% of screen height from the bottom.
We then position the gun at a certain distance along that ray from the player.
Finally we orientate the gun to point towards a point a certain distance from the player so it points to the center of the screen. I may update this in future to adjust to point to the nearest object in front of the player, but that'll need some careful tweaking.
Finally I added in some functionality to allow for rotating the gears at specific speeds.
The next things to implement is the UI and control the gear rotation based on what the player is doing with connections.
Adam - Programming
At this point the connections mechanics are done. I will be ready to fix any bugs that arise but for now I am starting to work on more visuals for the game. The main thing I wanted to do was the effects of the connections. We had a sort of electricity theme that we wanted for the effects so I made some stuff like that. To get the selection effect I followed a tutorial by Gabriel Aguiar Prod as a starting point. I didn't match the tutorial exactly and wanted to create an effects that would suit our game better.
The first effect implemented was the block selection effect. It's basically just some electric lines that are red or blue depending on whether the user left clicks or right clicks something.

Selection Effect
This is much nicer than before as it just adds the shader I made on top of any existing materials an object has. This means that it can be reused for any object that can be selected in this way. As there is also the wall connection to consider something different had to be done here. I tried a few different methods but the one that was the most consistent was to create a small sphere when the player clicks on an unmovable object and give that sphere the lighting effect. The shader is transparent so it looks like a ball of energy has appeared at a point the player clicks.
Wall Effect
The next effect was the connection beam. We wanted this to look like an electrical current so that the player understands how it is able to power certain objects in the world. Gabriel Aguiar Prod had another good tutorial for achieving this effects that I followed. His was a bit different to what we wanted in that he was creating a lightning strike and using VFX where we wanted a continuous flow.
With a bit of modification I got a decent looking lightning effect. It changes its colour between red and blue to show how the connections are merging, plus the effect would looked weird when the bolt was one colour.

Beam Effect
It looked good but I wanted it to look more electrical so I made some changes. The easiest way to improve it was to add white to the middle of the connection. It looked more like a cartoony lightning effect then.
Better Effect
I could reuse some of the effects for other mechanics as they would still give an idea as to what was happening. For the beam being used to power objects I used the same selection effect to show that it had been hit by a beam. Nothing happened before so this gives better feedback to the player
Powering an object
I reused the beam effect for batteries as well. This helps show the player when they have placed the battery in the correct spot as well as showing what the batteries are doing.

Batteries Powering Something
The final thing I did was change the connections so that the player only changed the current connection they had selected. Before whenever the player scrolled they manipulated all the connections that they had made. This was occasionally useful but the majority of the time it was much better if the player only moved the thing they wanted to move. This should hopefully make the gameplay smoother as the player doesn;t have to worry about accidentally messing up their connections
Better Control
Ethan - Level Design
Developing an Aesthetic
This week the visual aesthetic of the game was considered in much more depth. Using the wall texture that was developed last week, I made a customisable shader that gives us control over the line strength, pattern width, pattern height, line colour and base colour. This means the pattern can be implemented in a variety of styles to suit the specific theme of each level.

Demonstrating some customisable options for our main material.
For instance, I used this design for the opening room of the game in level one:
Some parts of the interior were remodelled as the original objects had an altered scale that squashed the pattern in an unappealing way. You can also see that the mouse UI icons (originating from Freepik) have been attached to the gate to teach the controls to the player. I also plan to add a scrolling icon to show how to pull the gates open. Some further work with importing the models will be required to make the gates work properly with the Connector Gun special effects.
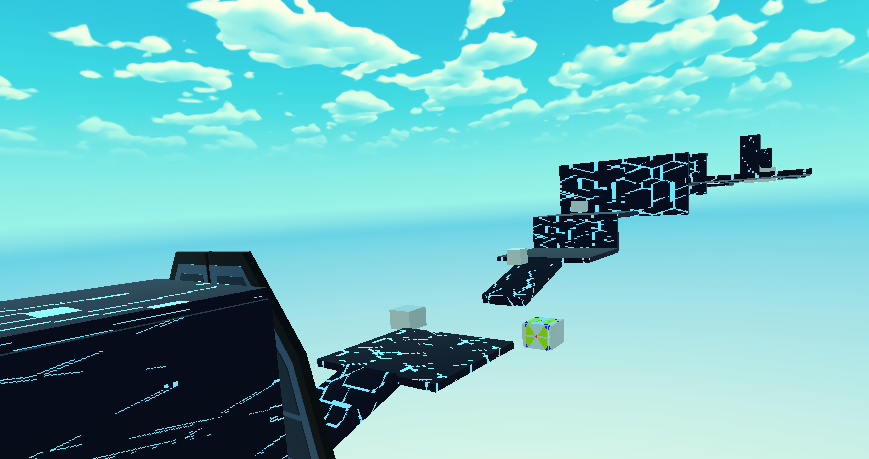
I also experimented with adding some different skyboxes from this asset pack by Yuki2022 to create a nicer look to the scene.
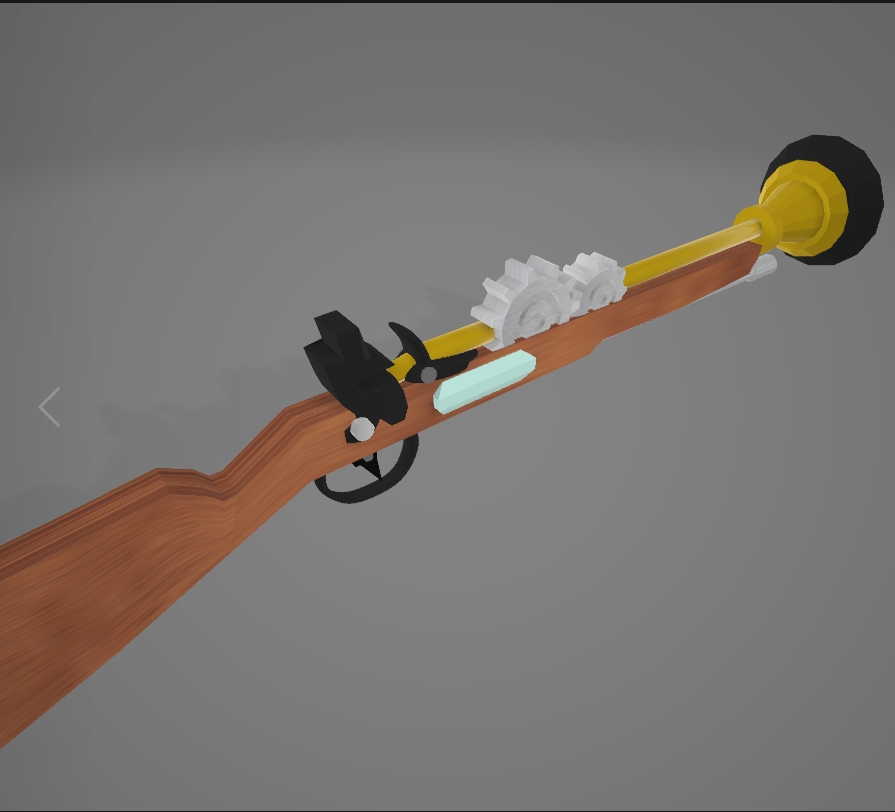
Aiden - Modelling
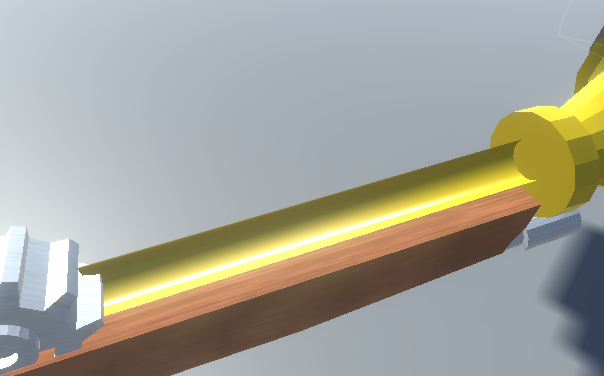
This week, I am mostly focusing on improving previous released models by fixing its issues. The Blunderbuss, which is our primary weapon, had its tube inversed for some reason and I was able to restore it by manually switching the normal side of the weapon. In addition, I have consolidated the individual components of the models into a single object so that the connections made by the connector gun cannot be used to separate each part individually. Furthermore, I've corrected the origin of the models to their respective geometries, which makes the linking connection look more appropriate.
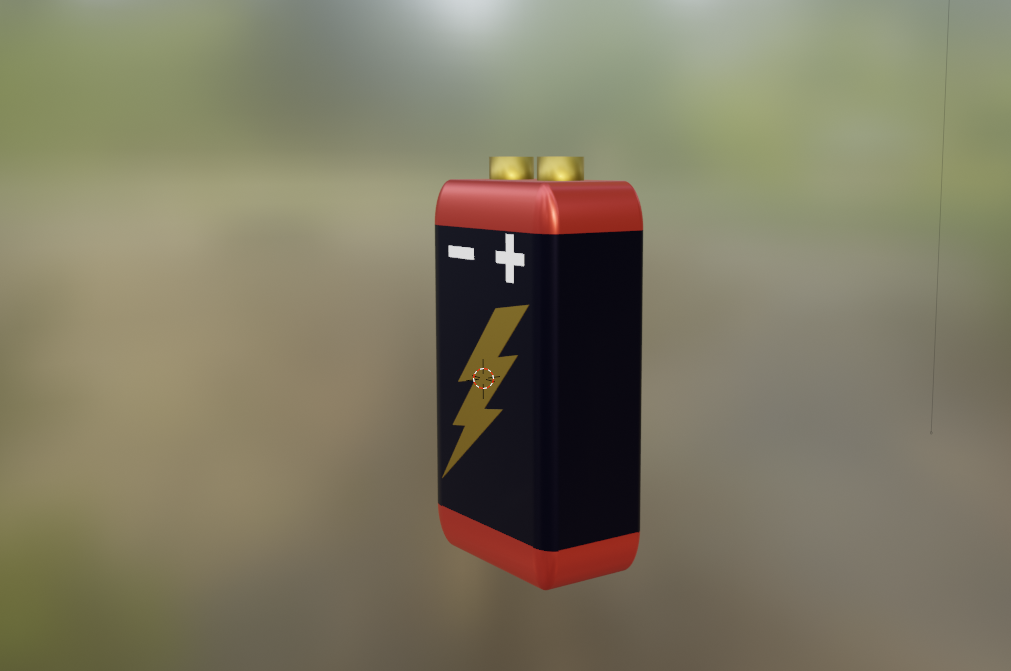
Battery
The battery is the main source of power within the game. By moving its location to the chosen power sphere, the sphere could be charged, which in turn will trigger the mechanism behind it.
Regarding the power sphere, because of its complexion in making one, the model will be made available in the update that will come out the following week.
Thanks for tuning in and hope to see you guys in the next DevLog!
Leave a comment
Log in with itch.io to leave a comment.