Devlog Week 8


Liam - Programming
Menus / Game Master
The main design elements of the menus were taken from the START MENU in Unity tutorial by Brackeys, but this was expanded by using a persistent singleton script of the root canvas that can be called upon to display the correct menus. This currently consists of the main menu, level selection, settings, pause, and the gameplay overlay that shows the crosshair.
All menus in use.

These menus are also able to resize to any resolution, as all elements are positioned according to the relative screen size, and not by certain amounts of pixels.
Checkpoints
To ensure player progress isn't completely lost if they die part-way through a level, we required checkpoints. Checkpoints are trigger colliders with a unique index that is used to indicate the players progression. Upon going through one it will inform the game master script, which will update what the current checkpoint is, but only if the index is higher than the previous one. This prevents the player from backtracking their progress.
Checkpoints being set by the player

Upon the player dying, the game master script reloads the scene. Since it is flagged to not be deleted on scene change, it keeps the record of the players current checkpoint index, and automatically moves them to it.
Reloading the level and moving the player to their last checkpoint
Pressure Plates
One of the puzzle components we need are pressure plates. I've set these up as a thin collider at the top of a box with a "spring" joint holding them in an upright position. Upon being triggered, the weight of the object is pushed high enough to force it in a down position, and the material is changed.
Pressure plate physics, toggling on/off
Upon a relevant object colliding with the pressure plate, it will turn on, and upon them leaving, it will turn off.
Pressure plate turning on/off, triggering other events
The pressure plate also has events that trigger on toggle, on, and off, meaning the level designer has more choices for their function when placing them within the level.
Adam - Programming
Basic connections
For the first two week I worked on getting the actual connector gun to work. The first thing I did was see how I could "connect" two objects together and get them to move around. Luckily this was a fairly easy thing to do. I could get the objects positions and calculate a direction I wanted them to move in. Next I simply applied some force using Unity's physics system to push and pull the objects.
Basic movement test result:

It looks a bit weird looking but it worked. I smoothed out the movement a bit and changed the way the connection works so that it uses scroll wheel to move the objects together. This would allow for finer control so the player could accurately place the objects as needed. I also added a line between the connection points so that the player can tell what is connected to what.
Connections with Line Renderer:
This feels nicer as the player has more control over the position and can stop the boxes more accurately.
Wall Connections
We also needed to be able to connect objects to wall so that the player could use them like a staircase. This was a bit challenging as the code for connecting objects together did not translate well for connecting them to a wall. The solution was to keep track of the location that the player clicked on and connect the object to that instead. This was a bit tricky to work out but eventually the objects could be connected to walls by moving them towards points that the player had selected. The line between connections helps the player identify where the connection is made.
Connection to walls:
Multiple Connections
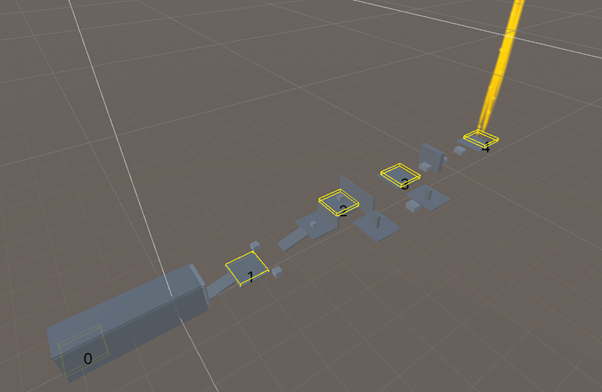
At that point there was only one connection allowed at a time and we wanted multiple for the final game. The next thing I did was add a way for the game to record multiple connections at once. To do this I took the current mechanics for connection objects and changed them to allow for multiple objects and positions to be recorded. Whenever the player clicks on an object or wall it sees if they can make a connection and stores it. The player can store up to three connections at a time but this number can be changed depending on the level.
Multiple connections:

Multiple connections gives the player more freedom for puzzle solving and we hope that they can use the connections to figure out clever ways to navigate the game.
Better Gun Movement
I needed to fix the gun movement as there was an issue with how I set it up initially. To get the directions I would constantly use the current position of the object and its destination. A side effect of this was the closer the object got to its target the slower it moved. This didn't feel very good so I had to change how the target was given to the object. The better connection movement makes the player feel like they have more control over the objects so it generally improves their experience.
Faster control:
All Connection Types
The next thing I did was finish all the connection types that player can create. This includes: object to object, object to wall and wall to wall. The wall to wall mechanic is intended for future puzzle scenarios as the player can use their connection to power up things in the game.
All connections:
Relative Momentum
The player would currently fall off moving objects. We wanted them to stay with moving objects as that is more realistic and makes for better puzzle solving as it gives the player another movement option. To do this I had to make the player's controller know when they were standing on a platform that could move and to move with it if it did. There were some hiccups along the way where the player would get stuck on platforms or wouldn't even move with them but eventually it all worked.
Moving with platform:
Ethan - Level Design
So far, the programmed mechanics have been incorporated into two levels – the first being a basic tutorial and the second introducing some classic switch puzzle mechanics as well as gravity-affected objects.
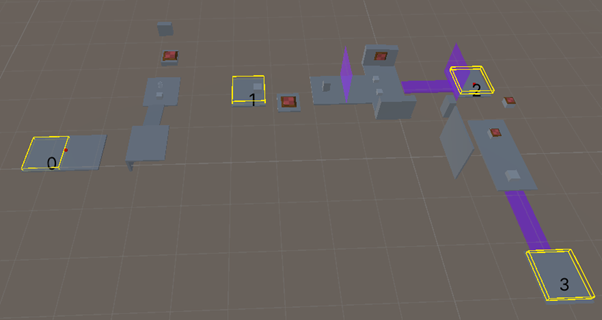
Level 1
A glowing beacon is used to indicate the end of the level and act as a guiding waypoint for the player. There are also three checkpoints distributed throughout the level, in addition to the start and end zones.
The level starts inside an enclosed space and introduces movement, jumping, and using the Connector Gun to make a basic connection. The initial connection involves connecting two gates and pulling them apart to reveal the level outside.
The gates are positioned slightly apart to give the affordance that they can be pulled apart. In future, UI icons will be added to make it clear that you need to left click and right click to make a connection. There will also be different materials applied to surfaces to differentiate connectable objects.
Once outside, the player is introduced to the fundamental concepts of manipulating blocks, such as joining two blocks together or connecting a block to a wall.
The ending to level one incorporates all the introduced connection styles to ensure that the player has a good understanding of the connection-based gameplay before proceeding to level two.
Level 2
The next level introduces buttons, gravity-affected cubes, multiple simultaneous connections and pressure-controlled switches that activate bridges or deactivate barriers.
The level begins with a button that can be pressed to spawn in a gravity-affected cube. These cubes differ from those in the previous level because they will fall once their connection is cleared. This characteristic is a useful puzzle mechanic, as it sometimes forces more than one connection to be used at once, or for specific block placement to drop a cube onto a switch.

The player is then introduced to pressure plates and the concept of releasing a connection:
In addition to activating bridges, these pressure pads can also lower barriers:
As these mechanics are recently developed, level two will undergo some further testing and puzzle creation before level three is designed.
Aiden - 3D Modelling
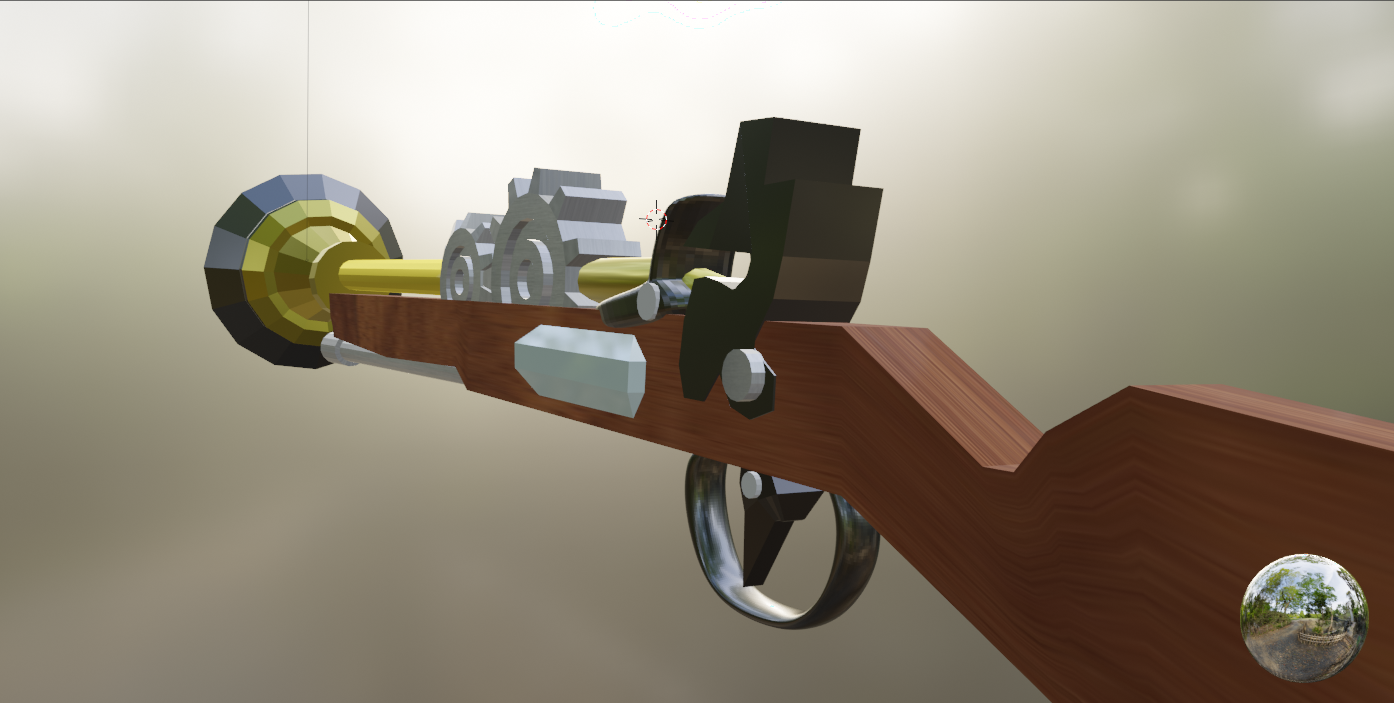
Connector Gun
Our main weapon of choice. The Connector Gun is able to assist the player in solving the problem by allowing them to fire connection points that would either push or pull things or place them in the correct area. A flintlock blunderbuss with a hint of futuristic appearance was used as the basis for the design of the weapon. Whether or not the cogwheels on top of the gun revolve depending on how far apart the two items was pushed or pulled. On the other hand, the number of bullets that are still available will be shown on the glass panel that is located on the gun's side.
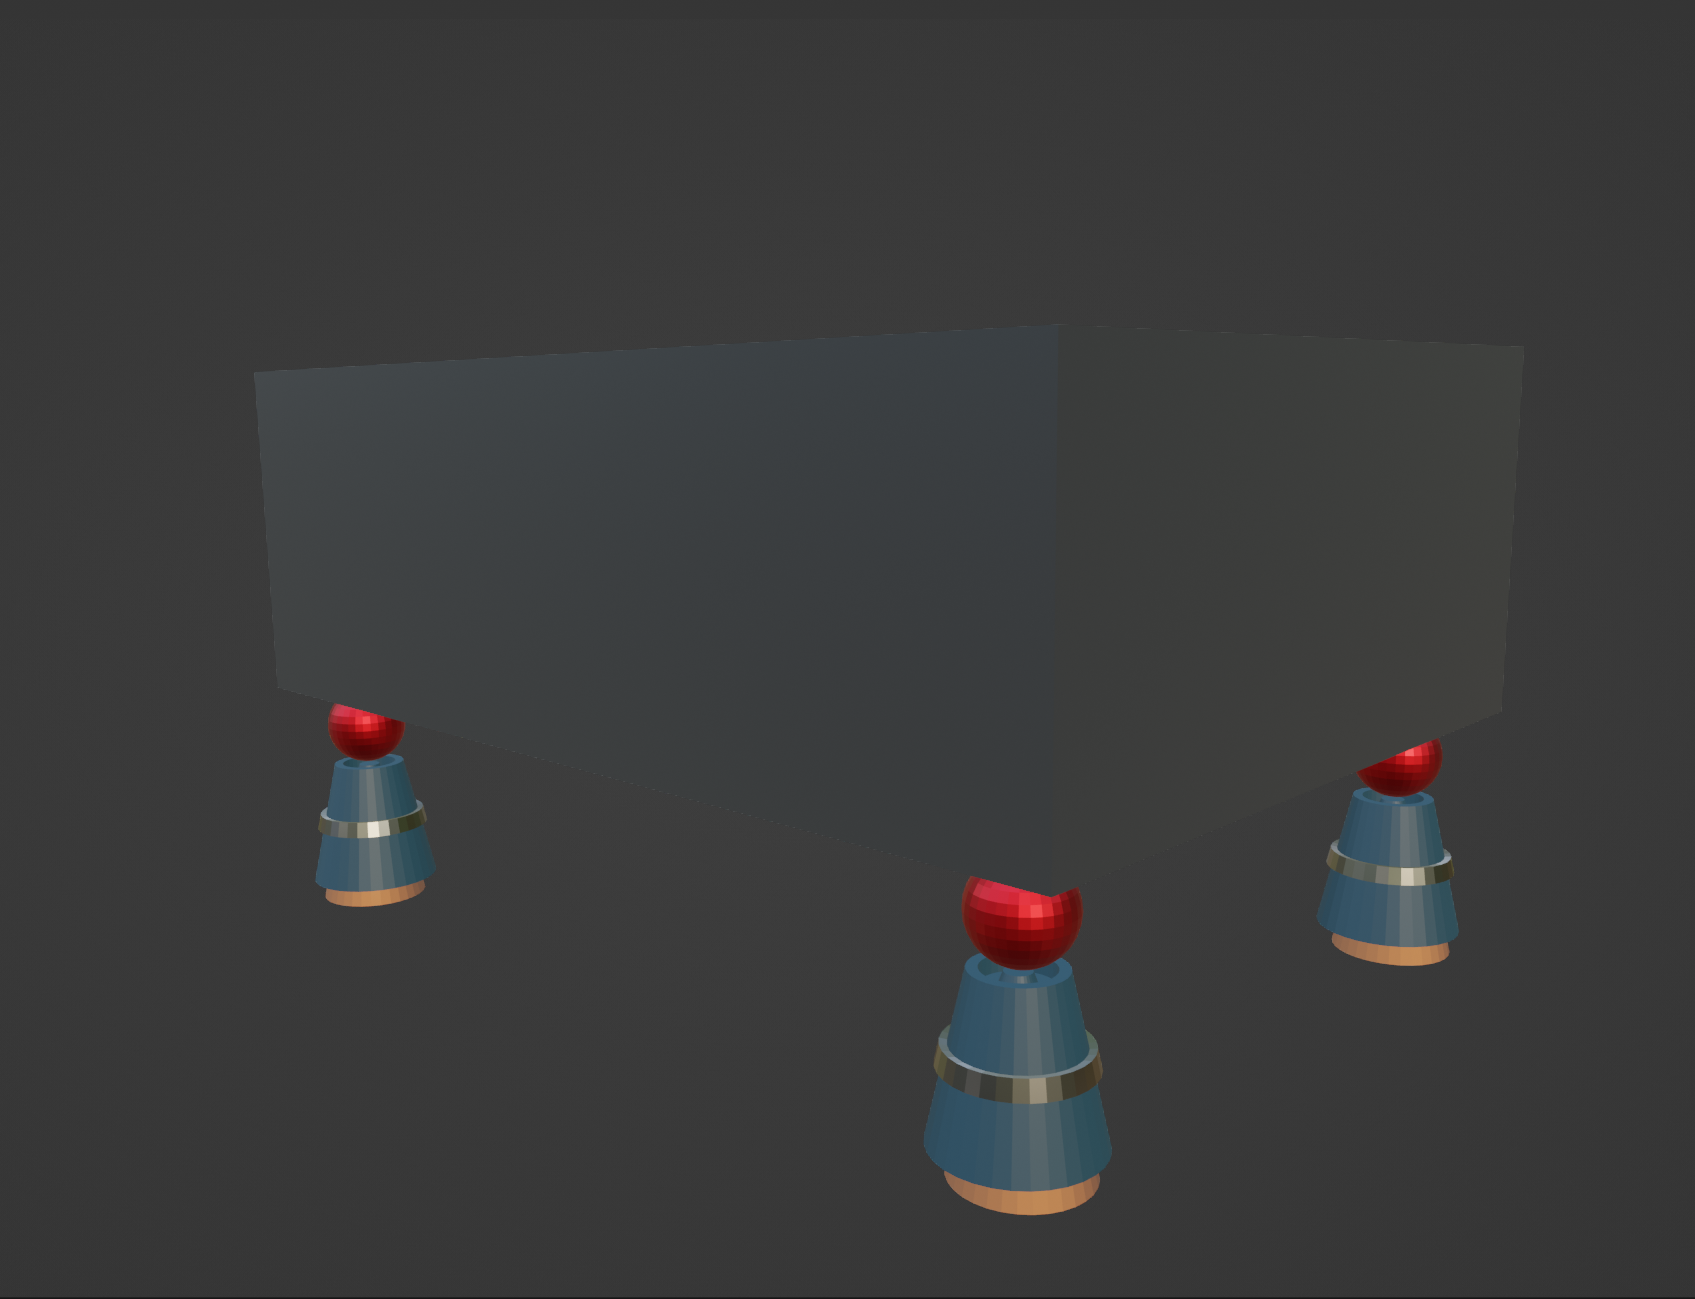
Floating Platform
Another tool that the player may use to assist them solve riddles. Either it may assist in moving players over the platform or it can transport objects to the designated spot. The design consists of a block of metal sitting atop four moving rockets, which makes for a fairly straightforward design.
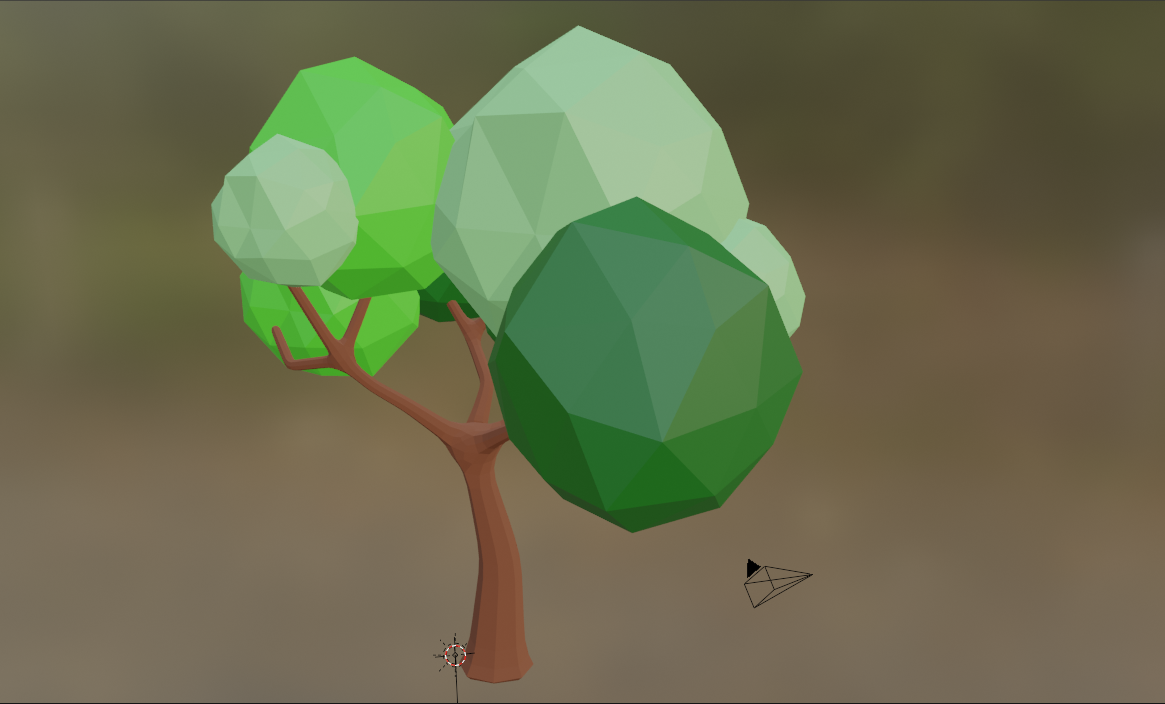
Green Tree
A random low-poly green tree uses for decoration and liven up the surrounding area. It will be put to use in one of the five different stages that we have in the game in which the primary theme is a meadow.
This is the end for the DevLog this week. It is really considerate of you to come in and give it a look. and we are grateful for your time. We look forwards to catching up with you in the next week's update!
Leave a comment
Log in with itch.io to leave a comment.